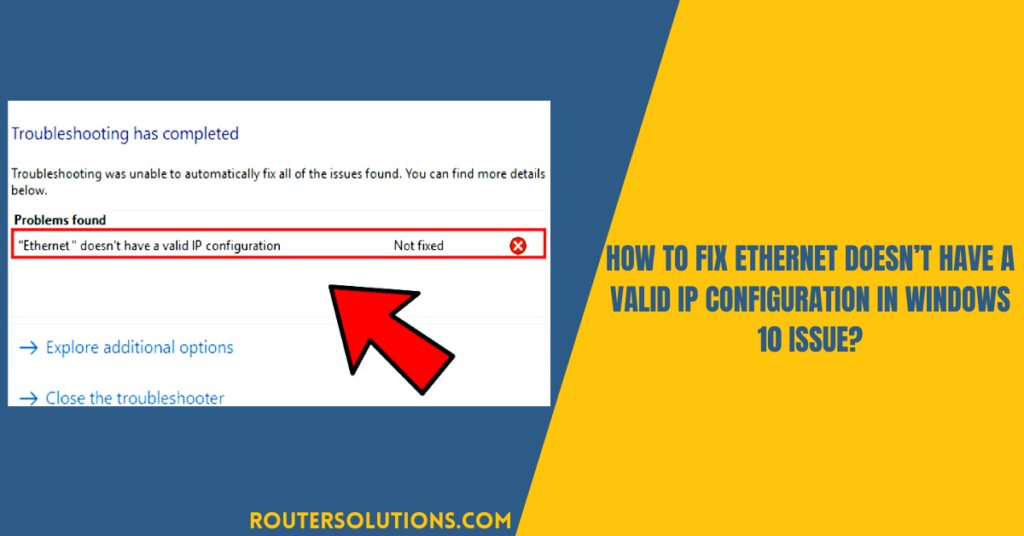
Are you getting the “Ethernet doesn’t have a valid IP configuration” error message while accessing the web? If yes, don’t panic, usually this error occurs when your Network Interface Card, i.e., hooked up to your Router or Modem via the Ethernet Cable. This makes them unable to get a VALID IP Address (Internet Protocol) and thus any connection will not be established. Whenever you got an error while accessing any webpage, try to find its root cause as this will help you to fix the issue easily.
What Does “Invalid IP Configuration on Ethernet” Mean?
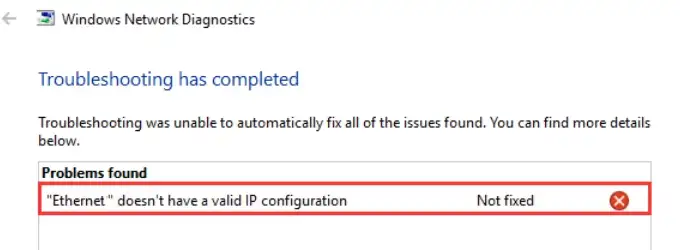
This error message simply means that your system is not receiving the IP address from DHCP (Dynamic Host Configuration Protocol). It is the responsibility of DHCP to automatically assigns the IP addresses to devices connected to the network.
You need an IP address to connect your system to the internet and make it able to communicate with the outside world. Without a valid IP configuration, your system cannot establish a connection with the network and even can’t send your data. There are mainly three main reasons why such errors can occur on your system. These are:
- Firstly, it is due to a faulty router.
- Secondly it is due to incorrect assigned IP Address to the device.
- Last but not least, the corrupted or faulty NIC can bother you.
Now, let’s check the proper workaround to fix the issue at the earliest.
Quick Methods to Resolve “Ethernet Doesn’t have a valid IP configuration” Issue
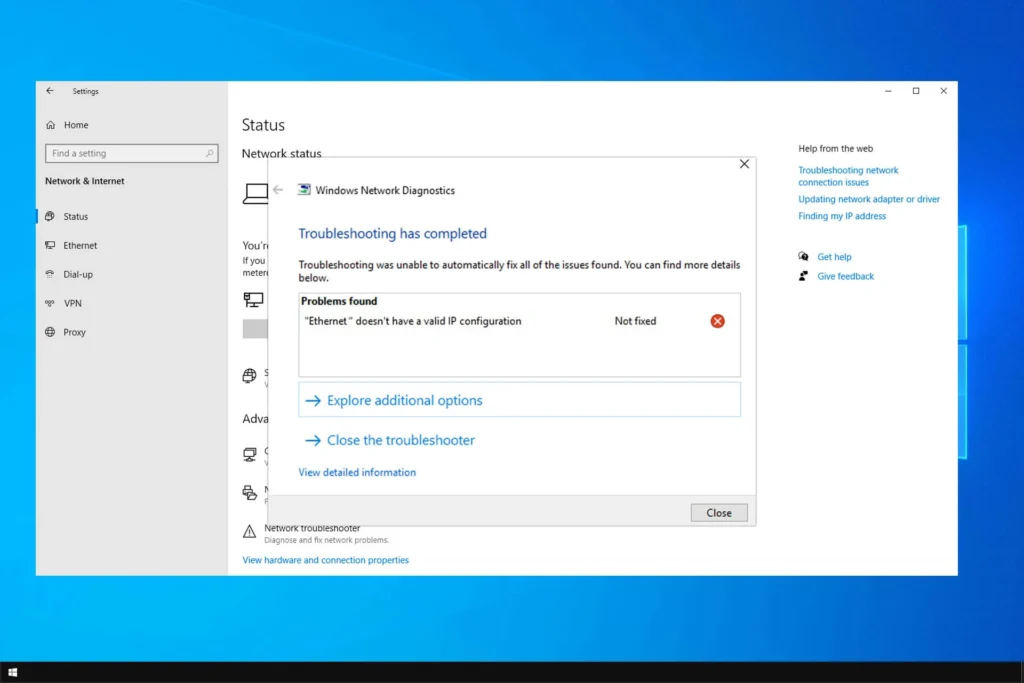
Here are some most widely-used troubleshooting methods that you can try to resolve this problem. Just apply these methods one by one:
Power-Cycle your Computer
Windows operating system provides a feature known as Fast Startup, that allows users to load settings directly from systems memory or cache. This reduces boot and start-up time and troubleshoots many issues when your system is restarted and fast startup is disabled. To disable Fast Startup, all you have to do is:
- Right-click on the Start Menu located at the bottom-left corner and then select Power Options in the WinX Menu.
- Tap “Choose what the power buttons do / Choose what the power button does” option from the left navigation pane.
- Now, click on Change settings that are currently unavailable. Then, uncheck the checkbox next to Turn on fast startup (recommended) to turn off Fast Startup feature.
- Then, click on Save changes and then close the System Settings.
- At last, restart your computer and check if the issue is resolved.
Reset the network adapter
If you are still facing the problem, then resetting the network adapter and refreshing your IP configuration can fix your issue. For this:
- Press Windows + I keys simultaneously to open Settings and then go through Network & Internet > Status.
- Now, click Change adapter options located under the Advanced network settings section.
- Right-click the adapter and choose Disable from the context menu.
- Once disabled, right-click the adapter again and select Enable to enable it.
Clear the Network Cache
Follow the below steps for clearing the network cache in order to fix such issues:
- Press Windows + S keys and type cmd in the Windows search bar to open Command Prompt.
- Type the command: ipconfig/flushdns and press Enter key.
- Type ipconfig/release and ipconfig/renew and hit Enter key each time.
Wrapping Up
The above-mentioned steps will help you to clear your DNS cache on Windows, release your IP address, and renew it.
If none of the above methods helped you to troubleshoot issues either with your router or the Internet Service Provider (ISP). In case of any doubt or assistance, feel free to contact our technical support team. Our executives are available 24*7 to troubleshoot any problem with your devices.

